
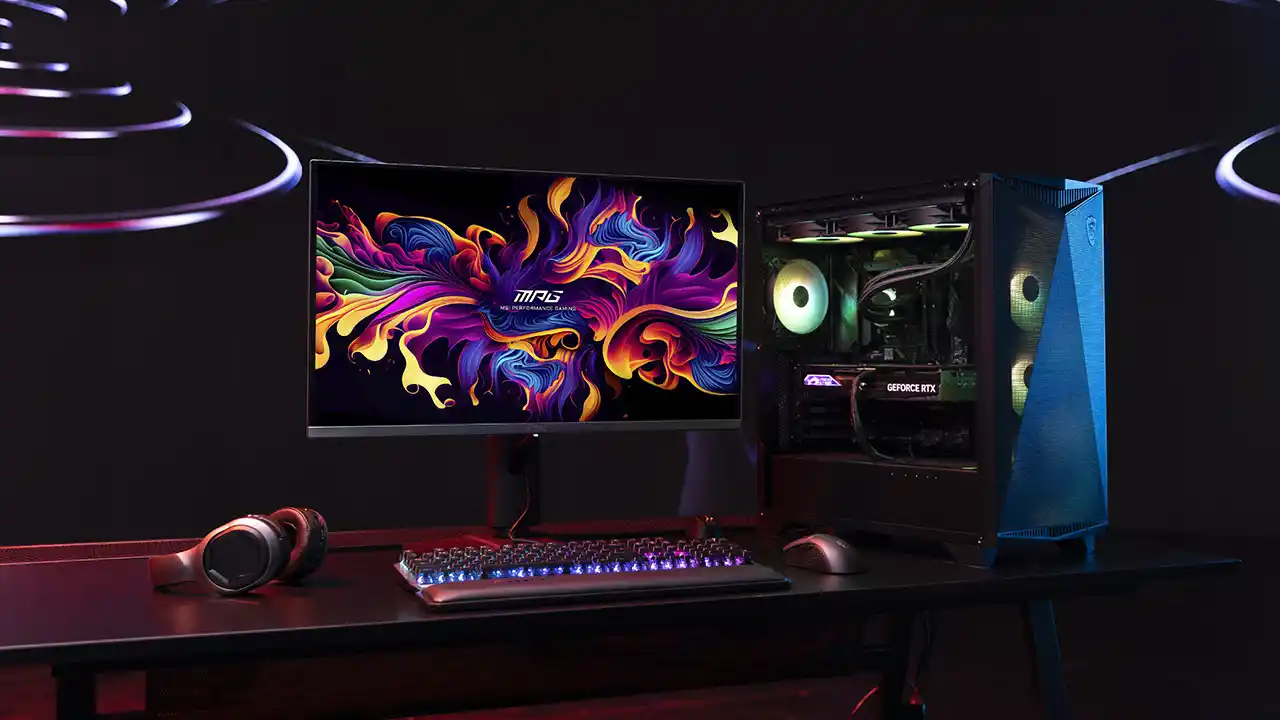
Building a gaming PC can seem daunting, but with the right guidance, it’s an incredibly rewarding experience. Not only do you get a machine tailored to your gaming needs, but you also gain a deeper understanding of how your hardware works. This step-by-step guide will walk you through the process, ensuring you build a high-performance gaming PC that’s future-proof and optimized for your favorite games.
Whether you’re a first-time builder or a seasoned enthusiast, this guide adheres to Google’s EEAT (Experience, Expertise, Authoritativeness, and Trustworthiness) principles, offering actionable insights, expert tips, and real-world examples to help you succeed.
Why Build Your Own Gaming PC?
Table of Contents
Before diving into the steps, let’s address the big question: Why build a gaming PC instead of buying a pre-built one?
- Cost Efficiency: Building your own PC can save you money. Pre-built systems often include markups for labor and branding.
- Customization: You choose every component, ensuring your PC meets your specific gaming and performance needs.
- Upgradability: Custom builds are easier to upgrade over time, extending the lifespan of your system.
- Satisfaction: There’s a unique sense of pride in building something with your own hands.
According to a 2022 report by Newzoo, the global gaming market is expected to reach $196 billion by 2025, with PC gaming being a significant contributor. Building your own PC ensures you’re part of this growing community with a machine that’s uniquely yours.
Step 1: Set Your Budget and Goals
Determine Your Budget
The first step in building a gaming PC is deciding how much you’re willing to spend. Gaming PCs can range from $500 for entry-level builds to $3,000+ for high-end setups.
- Entry-Level ($500-$800): Ideal for casual gamers or those playing less demanding games like Minecraft or League of Legends.
- Mid-Range ($800-$1,500): Perfect for 1080p or 1440p gaming with smooth performance in titles like Fortnite or Call of Duty.
- High-End ($1,500+): Designed for 4K gaming, VR, or competitive esports with games like Cyberpunk 2077 or Apex Legends.
Define Your Gaming Goals
Ask yourself:
- What games do I want to play?
- What resolution and frame rate am I targeting?
- Do I need my PC for other tasks like streaming or video editing?
Having clear goals will help you choose the right components.
Step 2: Choose Your Components
Building a gaming PC requires selecting compatible parts. Here’s a breakdown of the essential components:
1. CPU (Processor)
The brain of your PC. For gaming, consider:
- Intel: Core i5 or i7 for mid-range, Core i9 for high-end.
- AMD: Ryzen 5 or 7 for mid-range, Ryzen 9 for high-end.
Expert Tip: AMD’s Ryzen 5000 series offers excellent value for gaming and multitasking.
2. GPU (Graphics Card)
The most critical component for gaming. Popular options include:
- NVIDIA: GeForce RTX 3060 (mid-range), RTX 3080 (high-end).
- AMD: Radeon RX 6700 XT (mid-range), RX 6900 XT (high-end).
Real-World Example: The NVIDIA RTX 3080 delivers 4K gaming at 60+ FPS, making it a favorite among enthusiasts.
3. RAM (Memory)
Aim for at least 16GB of DDR4 RAM for modern gaming. For future-proofing, consider 32GB.
4. Storage
- SSD: Fast load times. A 500GB NVMe SSD is ideal for your operating system and games.
- HDD: Additional storage for larger files. A 1TB HDD is a good complement.
5. Motherboard
Ensure compatibility with your CPU and GPU. Popular choices include:
- Intel: Z690 or B660 chipsets.
- AMD: X570 or B550 chipsets.
6. Power Supply (PSU)
Choose a PSU with enough wattage for your components. A 650W-750W PSU is sufficient for most builds.
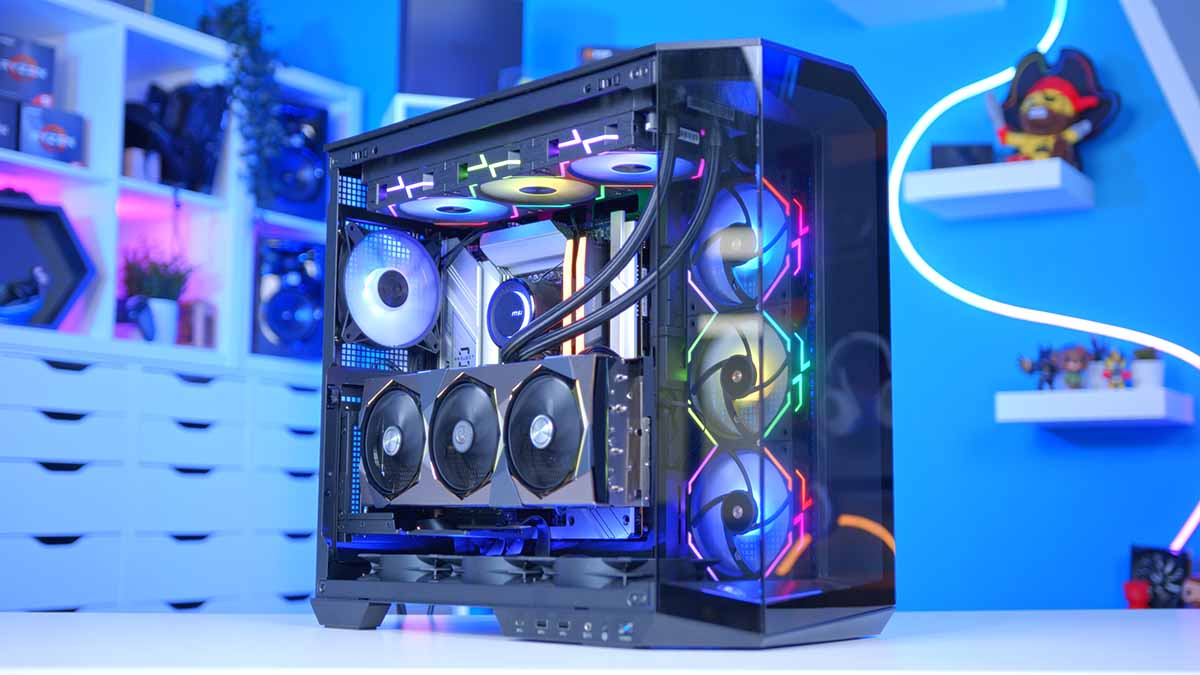
7. Case
Select a case that fits your components and has good airflow. Popular brands include NZXT, Corsair, and Fractal Design.
Step 3: Assemble Your Gaming PC
Now that you’ve gathered your components, it’s time to build!
Tools You’ll Need:
- Phillips-head screwdriver
- Anti-static wrist strap (optional but recommended)
- Cable ties for cable management
Step-by-Step Assembly:
- Prepare Your Case: Remove side panels and install the PSU.
- Install the CPU: Carefully place the CPU into the motherboard socket.
- Attach the Cooler: Secure the CPU cooler with thermal paste applied.
- Install RAM: Insert RAM sticks into the DIMM slots.
- Mount the Motherboard: Secure the motherboard to the case using standoffs.
- Install Storage: Connect your SSD and HDD to the motherboard.
- Install the GPU: Insert the graphics card into the PCIe slot.
- Connect Cables: Attach power cables from the PSU to the motherboard, GPU, and storage drives.
- Cable Management: Organize cables for better airflow and aesthetics.
- Power On: Double-check connections, then power on your PC.
Pro Tip: Watch tutorial videos from trusted sources like Linus Tech Tips or JayzTwoCents for visual guidance.
Step 4: Install Software and Optimize
Once your PC is built, it’s time to set it up:
- Install the Operating System: Windows 10 or 11 is recommended for gaming.
- Update Drivers: Download the latest drivers for your GPU, motherboard, and other components.
- Install Games: Use platforms like Steam, Epic Games, or GOG to download your favorite titles.
- Optimize Settings: Adjust in-game settings for the best performance and visuals.
Step 5: Test and Troubleshoot
After setup, run benchmarks like 3DMark or UserBenchmark to ensure everything is working correctly. Monitor temperatures using software like HWMonitor to avoid overheating.

Conclusion
Building a gaming PC is a fun and empowering project that rewards you with a machine tailored to your needs. By following this step-by-step guide, you’ll not only save money but also gain a deeper appreciation for the technology that powers your favorite games.
Whether you’re aiming for 1080p gaming or a 4K powerhouse, the key is to plan carefully, choose quality components, and take your time during assembly. Happy building!
Question/Answer
1. Is building a gaming PC cheaper than buying one?
Yes, building your own PC is often cheaper than buying a pre-built system, as you avoid labor and branding markups.
2. How long does it take to build a gaming PC?
For beginners, it can take 3-5 hours. Experienced builders can finish in under 2 hours.
3. What tools do I need to build a gaming PC?
A Phillips-head screwdriver is essential. An anti-static wrist strap is recommended to prevent damage from static electricity.
4. Can I upgrade my gaming PC later?
Absolutely! One of the biggest advantages of building your own PC is the ability to upgrade components like the GPU, RAM, and storage over time.
5. What if my PC doesn’t turn on after assembly?
Double-check all connections, ensure the PSU is switched on, and verify that components like the RAM and GPU are properly seated.
